Roasting Coffee at Home is Easier Than You Think!
Coffee is more than just a beverage for many; it’s a passion that rivals the finest treasures. A single cup of exceptional coffee can transport you, making the world fade away. For coffee enthusiasts, roasting your own beans at home offers control over flavor and roast level, tailoring each batch to your taste. Surprisingly, this process is far simpler than you might expect.
How to Store Roasted Coffee
Preserving the natural flavor and aroma of roasted coffee is key. Glass jars are unsuitable due to coffee’s volatile nature. After researching, I discovered Mylar bags, which have become my go-to solution. Consider purchasing wholesale Mylar food storage bags to save on costs while ensuring freshness.
Tools Needed for Coffee Roasting
Before you begin, check your kitchen for these essential tools:
- A pan or oven: A pan works if you don’t have an oven.
- Thermometer: To monitor temperature and achieve your desired roast level.
- Colander: For cooling and handling beans.
- Coffee bags: Custom-sized Mylar bags preserve freshness and aroma.
It’s fine if you don’t have an oven, as you can roast the coffee in a pan as well. A colander is needed to add your beans, and a thermometer will be used to check the temperature to make sure the roast level is what you want. Getting custom-sized mylar bags for storing your coffee will further preserve the freshness and aroma of your roasted coffee. If you live alone and consume caffeine daily, getting small bags will be the perfect option. And you can always refill the bags once you have used the roasted coffee.
Get Your Equipment Ready in an Open Space
Choose a well-ventilated area for roasting, as the process can produce smoke that may trigger fire alarms indoors. A backyard is an excellent choice. Gather your tools, including coffee beans, and set up in this open space.
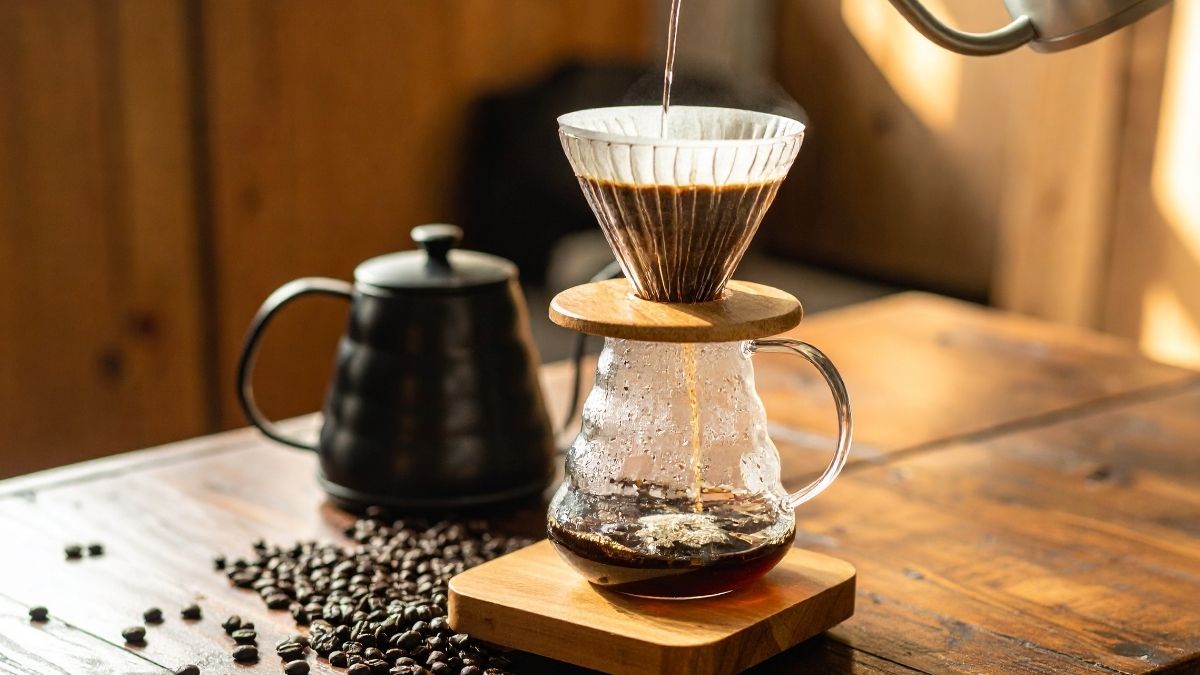
Start Roasting Your Coffee
Begin with ½ cup of green or other unroasted beans. For pan roasting, set the heat to 500°F. For oven roasting, maintain a temperature between 356°F and 482°F for 7 to 20 minutes. Shorter roasting times yield lighter roasts, while longer times produce darker ones. When using a pan, stir the beans constantly to prevent burning.
Choose the Roasting Level
Roast levels cater to different taste preferences, from nutty and bitter to fruity and less acidic. Contrary to popular belief, coffee isn’t meant to be inherently bitter—it should reflect your personal taste. The three main roasting levels are:
- Light Roast: Retains the bean’s original flavor with higher acidity. Achieved at the first crack, when green beans turn a pale yellow. Ideal for beginners.
- Medium Roast: Offers a balanced, slightly caramel flavor with reduced acidity. Reached at the end of the first crack, with beans turning caramel or chestnut in color.
- Dark Roast: Delivers a bold, nutty, and bitter taste with low acidity and a strong aroma. Beans become dark brown, almost black. Note that “dark” refers to flavor, not strength, which depends on the coffee-to-water/milk ratio.
Store Your Beans Properly
Proper storage is critical to maintaining flavor. Mylar bags protect coffee from light, temperature, dust, air, and moisture. Allow beans to degas before sealing, as trapped CO2 can cause bags to burst. Alternatively, use Mylar bags with degassing valves to safely release CO2 while preventing air entry.
Have Perfect Mornings with Home-Roasted Coffee
Home-roasted coffee carries a unique flavor: the taste of your effort. Elevate your mornings with a cup of your creation, paired with high-protein cottage cheese pancakes or homemade brownies. Share with loved ones or experiment with a frothy matcha. Your coffee will feel extra special, infused with your personal touch. Who knows? This hobby might inspire you to open a small coffee shop of your own.